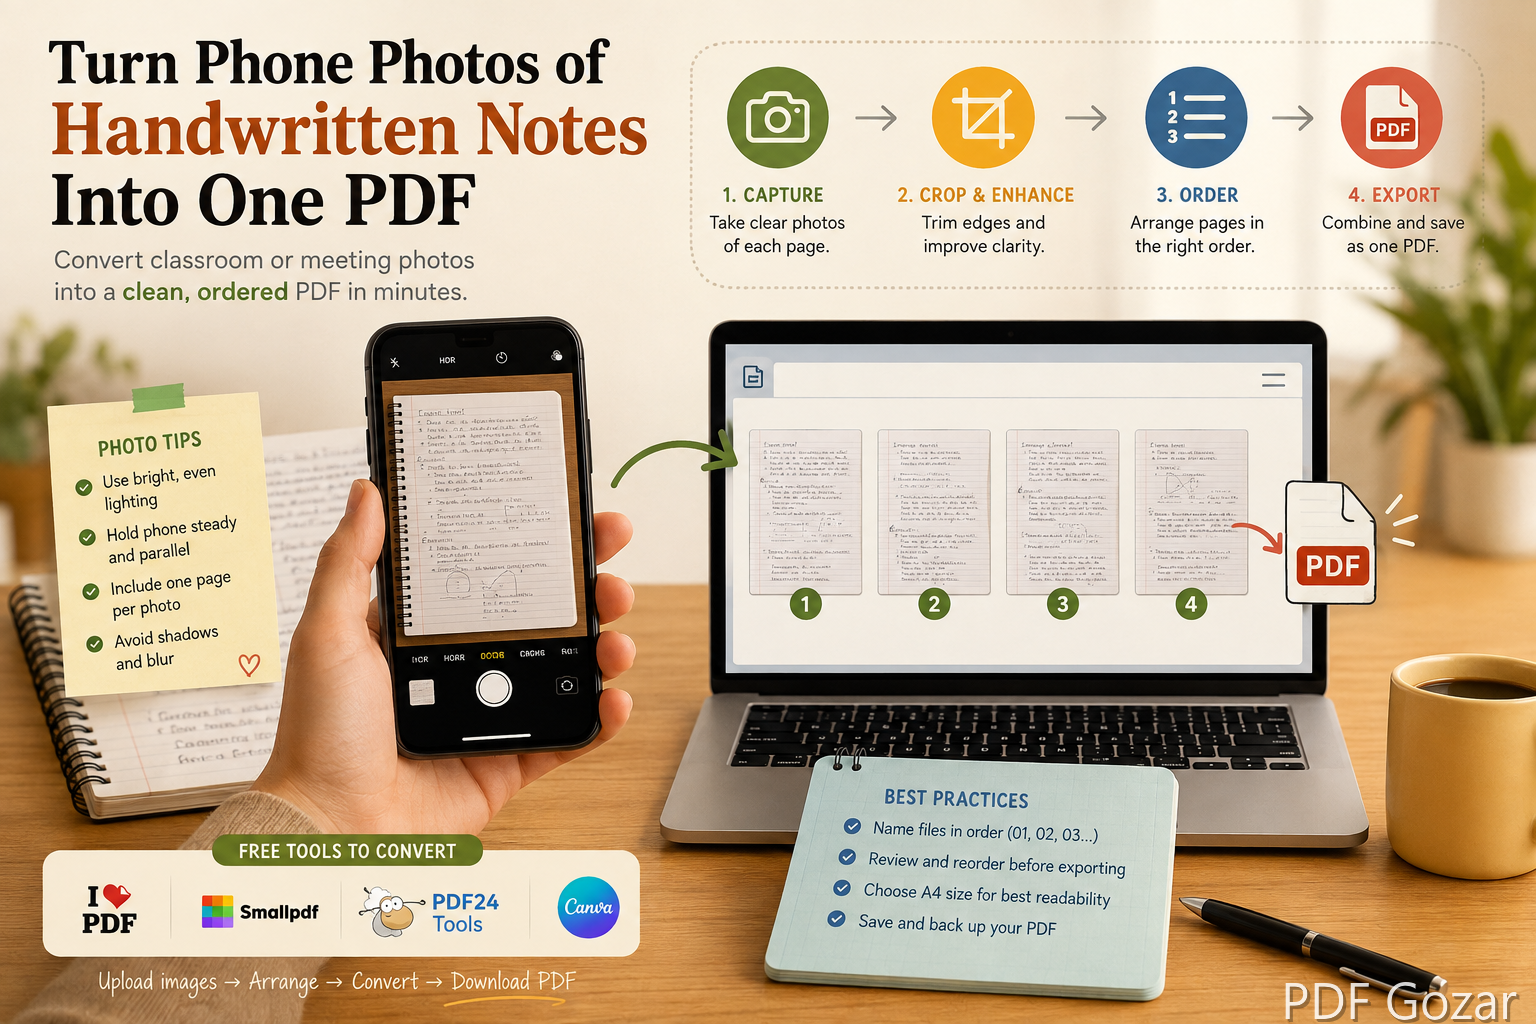
Turn Phone Photos of Handwritten Notes Into One PDF#
You took ten photos of the whiteboard, the lecture notebook, or a study group’s shared notes. Now they live in Camera Roll as IMG_4821.jpg, out of order, with thumbs and glare. Professors, tutors, and coworkers still want one PDF—not a text thread of images.
This walkthrough shows how to shoot better pages, clean them up quickly, and combine them into a single PDF with free browser tools. No scanner required.
When a Phone PDF Is Good Enough#
Phone photos work well for:
- Lecture boards and handwritten problem sets
- Study guides you want on a laptop
- Meeting flip charts before facilities wipe the room
- Backup copies of paper you must return
- Lab notebooks you need to share with a partner before leaving class
They work poorly for tiny print contracts or anything that needs OCR-perfect legal text. For those, use a flatbed or request a digital original. If someone needs a signed lease or a W-9, photograph carefully or ask for a real PDF—do not treat a skewed phone shot as a formal filing copy.
Shoot Notes So the PDF Stays Readable#
Spend thirty seconds per page in the room. It saves twenty minutes later.
- Fill the frame with the page—less desk, more paper.
- Hold the phone directly above the page to reduce perspective skew.
- Prefer daylight or overhead light; avoid a lamp that creates a hot white spot.
- Use your phone’s document / scan mode if available (iOS Notes, Google Drive scan, built-in scanner).
- Capture pages in order so you do not reshuffle later.
- For dark pencil, bump exposure slightly so strokes stay visible after compression.
- Pause half a second after tapping shutter so motion blur does not soft-focus the middle of a proof.
If the board is wide, take overlapping shots left-to-right and label them in your mind as page parts—you can merge later or keep them as sequential pages. For a tall flip chart, shoot top half then bottom half rather than standing so far back that handwriting becomes noise.
Prep Images on Your Phone (Optional but Worth It)#
Before uploading:
- Crop margins and fingers.
- Rotate every page upright.
- Delete blurry duplicates—keep one sharp frame per page.
- Export or share as JPG for speed, or PNG if ink is thin and you want fewer artifacts.
- Straighten slightly skewed shots in Photos if the page looks like a parallelogram.
A folder named CHEM-201-Week3 with 01.jpg, 02.jpg, 03.jpg makes the PDF step painless. On a laptop, drag the set into one folder before you open the converter so you are not uploading random screenshots from last weekend.
Convert Photos to PDF (JPG or PNG)#
From JPEG photos#
- Open JPG to PDF.
- Upload your images in reading order (select multiple if the tool allows, or add in sequence).
- For email-friendly notes packs, try US Letter + Email-smaller; keep Fit image + Original when you need max clarity.
- Download the combined PDF.
- Open it once on your laptop to confirm page order and orientation.
From PNG screenshots or scans#
Use PNG to PDF the same way when your scan app exports PNG.
Mixed folders#
Convert batches separately, then join with Merge PDF—for example, Monday’s board photos plus Tuesday’s notebook pages. Keep board shots and notebook shots as separate mini-PDFs first if you might reshare only one day later.
Fix Order, Orientation, and Extras#
If page 4 appears before page 3:
- Split the PDF with Split PDF into single pages or small ranges.
- Re-merge in the correct order with Merge PDF.
If one page has a huge glare blob covering a formula, retake that photo and replace only that page rather than reshooting the whole set. Convert the replacement image alone with JPG to PDF, split out the bad page, then merge the good pages around the replacement.
For light markup—circling a problem number or adding a title page note—open Free PDF Editor after the merge. Keep markup short so it does not cover the handwriting you meant to preserve.
Checklist: Is This Packet Ready to Share?#
Run through this before you email a classmate or upload to Canvas:
- Pages read in order from front to back
- Every page is upright (no sideways notebook shots)
- Margins are cropped; no large desk or backpack background
- Formulas, dates, and problem numbers are legible on a laptop, not only on your phone
- Filename names the class and topic
- Sensitive corners (student ID stickers, grades) are cropped out
- File opens on a second device once (catches missing pages early)
If two items fail, fix those before you share. A neat PDF with one missing page still wastes everyone’s time.
Before / After Workflow (45-Minute Lecture)#
Before: Twelve Camera Roll photos named by the phone, two duplicates of the same board, one upside-down notebook page, and a Slack dump of half the set.
After:
- Delete duplicates and the blurriest board shot.
- Crop and rotate; save as
01.jpgthrough10.jpgin aBIO-101-Week5folder. - Convert with JPG to PDF.
- Spot-check on a laptop; fix order with Split PDF and Merge PDF if needed.
- Add a one-line title note in Edit PDF if the first page does not show the lecture topic.
- Upload
BIO-101-Mitosis-Notes-2026-08-16.pdfto Drive and share the link—or attach if it stays under email limits.
That rhythm becomes fast after one or two weeks of class.
Make Study PDFs Easier to Use Later#
- Filename:
BIO-101-Mitosis-Notes-2026-08-16.pdfbeatsscan.pdf. - First page: a photo of the assignment prompt or board title so future-you knows the topic.
- One topic per file when possible—easier to search Drive and share with a classmate.
- Backup: keep the original photos until the semester ends in case you need a higher-resolution crop.
- Versioning: if you add office-hour corrections later, append
-v2instead of overwriting the only copy your study group already downloaded.
Privacy and Sharing#
Handwritten notes can include grades, ID numbers on the corner of a syllabus, or a classmate’s full name. Crop those before you upload. Share class PDFs only with people who were meant to have them, and follow your school’s academic integrity rules—do not redistribute exams if the instructor forbids it.
For workplace whiteboards, watch for customer names, revenue figures, or unreleased product details. When in doubt, crop or black out those regions in your photos before converting, or ask the meeting owner what is safe to circulate.
Troubleshooting Common Photo-to-PDF Problems#
- PDF is huge and email rejects it: Resize images so the long edge is about 1200–1600 pixels before converting, or split a long set into two PDFs. See How to Shrink a PDF Under 25MB for Gmail if you must attach.
- Ink looks washed out: Retake with slightly higher exposure, or keep PNG from a scan app and use PNG to PDF.
- Wide board is unreadable: Use two overlapping pages instead of one distant shot; merge both into the packet.
- Page order is wrong every time: Number photos on disk (
01,02) before upload; do not rely on Camera Roll sort alone. - One page is sideways in an otherwise fine file: Split that page out, rotate the source image, reconvert that page, and merge it back.
FAQ#
Should I use HEIC or JPG?#
Convert HEIC to JPG before upload. Most web tools expect JPG or PNG. On iPhone, Settings → Camera → Formats → Most Compatible, or export from Photos as JPEG.
Can I search handwritten text inside the PDF?#
Usually not. A photo PDF is an image. If you need searchable text, type a short summary on a cover page or use a separate notes app with OCR after class.
How many photos can I combine?#
Depends on phone memory and upload limits. For large sets, convert in batches of 10–15 pages, then merge the mini-PDFs.
Color or grayscale?#
Ink on white paper is fine in color. Grayscale can shrink file size for email; use color when diagrams rely on colored chalk or markers.
Do I need a dedicated scanner app?#
No. A careful Camera photo plus crop is enough for most study packets. Scanner mode helps when you want automatic edge detection, but it is optional.
Next Step#
Crop and order your photos, then run them through JPG to PDF or PNG to PDF. If you need one packet from several days, finish with Merge PDF. One clean file beats a messy Camera Roll when it is time to review.