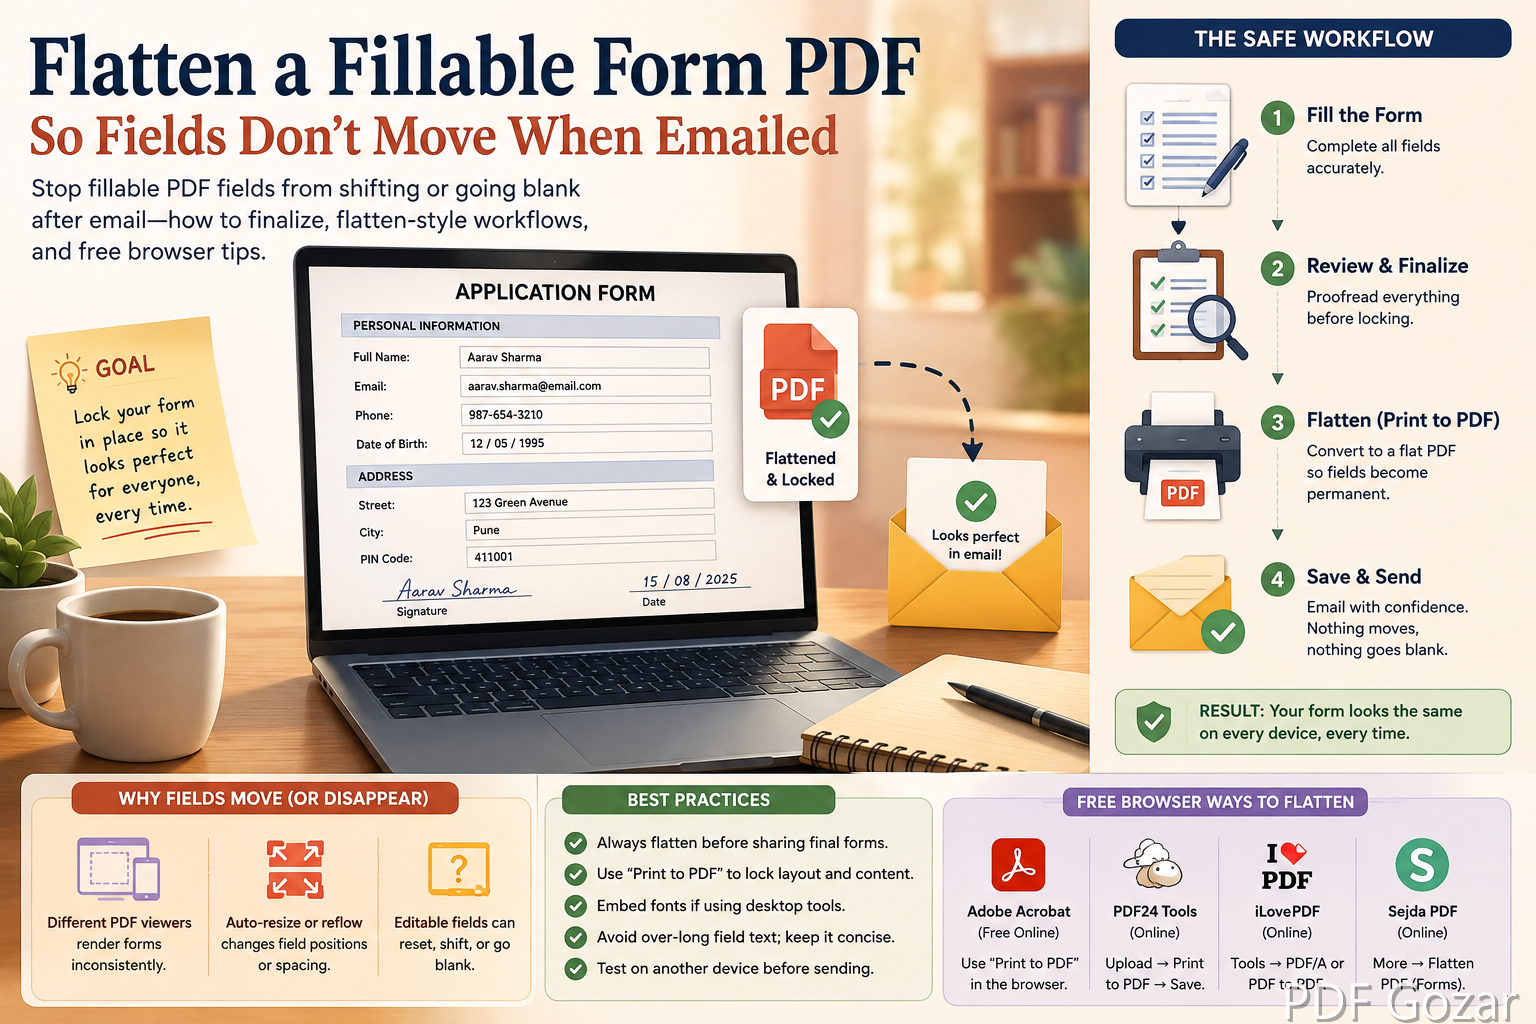
Flatten a Fillable Form PDF So Fields Don’t Move When Emailed#
You filled every box. On your screen it looks perfect. The recipient opens the email on another device and sees blank fields, shifted text, or a “please complete this form” prompt over answers you already typed. Fillable PDFs are interactive—email clients, preview panes, and some phones do not treat them like a finished snapshot.
“Flattening” means turning interactive fields into a fixed appearance so what you see is what they get. This guide covers practical flatten-style workflows with free browser tools when you do not have Acrobat Pro—plus when you should not flatten yet.
Why Fields Misbehave After Email#
- The file still contains form field widgets, not just ink on the page
- Preview on iPhone/Android may hide values until tapped
- Some corporate gateways rebuild PDFs and drop appearances
- Recipients open with viewers that reflow or ignore AcroForm data
- You edited fields but never triggered a full “appearance” refresh
If the other party must type more answers, do not flatten yet. Flatten when the form is done. School offices, clinics, and HR desks see this failure every week—especially when parents fill on a phone and staff open on a desktop.
Think of the fillable file as a worksheet and the flattened file as the printed result. You keep the worksheet for edits; you send the printout for records.
Confirm You Are Actually Finished#
Before locking the form:
- Spell-check names, dates, and dollar amounts
- Check every required checkbox
- Sign where needed
- Save a copy named
...-DRAFT-fillable.pdfand work on another copy for the final
You cannot easily “unflatten” later without the draft. If two guardians must sign, wait until both signatures exist—or flatten only after the last signer, depending on your process.
Method 1: Print to PDF (Most Reliable Free Flatten)#
On Mac or Windows, “printing” to a new PDF usually burns fields into page content.
Mac
- Open the filled form in Preview or Chrome
- File → Print
- PDF → Save as PDF
- Open the new file and confirm you cannot click into old fields
Windows
- Open in Edge or Chrome
- Print → destination Microsoft Print to PDF or Save as PDF
- Verify fields are no longer interactive
This new file is what you email. Keep the fillable draft offline. If a field still looks empty after print-to-PDF, the appearance was already missing on your screen—go back to the fillable draft and re-enter that value before flattening again.
Method 2: Browser Edit + Re-Save Snapshot#
When print-to-PDF is awkward (Chromebook, shared PC):
- Open Free PDF Editor
- Upload the filled form
- If fields show as static text already, download a fresh copy
- If values are missing visually, re-type critical lines as normal text boxes on top of the form (match size carefully)
- Before download, leave Flatten for email checked when the form is finished — that burns field values into the page for Gmail and phone previews
- Download and spot-check on your phone
This is a practical “burn-in” when the interactive layer will not travel. Match font size as closely as you can so the page still looks official.
Method 3: Image Round-Trip (Last Resort)#
For stubborn forms:
- Export pages with PDF to JPG
- Rebuild with JPG to PDF
You lose selectable text and true form structure—fine for a signed permission slip, poor for something that must be copied into Excel later. Use only when appearance matters more than text extraction. For a multi-page packet where only page 2 fails, Split PDF that page, round-trip it, then Merge PDF it back into the rest.
PNG can help for sharp stamps or signatures: export with PDF to PNG and rebuild with PNG to PDF when JPG softens fine lines.
Signing Before You Flatten#
Order of operations:
- Fill fields
- Sign (draw/type) with Edit PDF or the form’s signature field
- Flatten via print-to-PDF
- Email the flattened copy
If you flatten first, you may not be able to use interactive signature fields afterward—you would stamp a signature image instead. Drawn signatures should sit inside the signature box without covering critical legal text.
Email and Portal Tips#
- Attach the flattened PDF; mention “completed, non-editable copy” if the recipient expected a blank form
- If Gmail size is an issue after image flatten, see Shrink PDF under 25MB
- Do not zip unless the recipient asked—many filters block zips
- Name clearly:
FieldTripPermission-AlexRivera-Signed.pdf
Some portals still insist on the original fillable template. In that case, upload what they require and email a flattened confirmation copy to yourself and the coordinator so you have proof of what you submitted.
School, HR, and Clinic Examples#
School permission form — Parents fill on phone; nurse’s desktop shows blanks. Print-to-PDF on a laptop after filling fixes morning drop-off chaos.
HR benefits election — HR systems sometimes re-present fillable templates. Upload the flattened “confirmation copy” plus keep screenshots if policy requires.
Clinic intake — Offices that print your PDF need burned-in text so printers do not omit field appearances.
Landlord or HOA forms — Boards often open attachments in webmail preview. Flattening prevents “empty form” replies when you already answered every question.
Verify on a Second Device#
Before you hit send:
- AirDrop, email, or cloud the flattened file to your phone
- Open it in a different app than you used to create it
- Confirm every checkbox and dollar amount is visible without tapping fields
- Zoom in on signature and date lines
If anything is missing, return to the fillable draft—not the flattened file—and repeat.
What “looks finished” should mean#
A finished file should show answers as normal page content. You should not be able to tab between fields. Checkboxes should look checked in print preview, not only when you click them. If your printer preview shows empty boxes, fix that before emailing—many offices print first and never notice an interactive layer on screen.
Common Mistakes to Avoid#
- Flattening, then noticing a typo with no draft left
- Emailing both the fillable and flattened files without labeling which is final
- Using image round-trip for a form the recipient must copy into a database
- Assuming password protection equals flattening (it does not)
- Cropping pages so tightly that printed margins cut off answers
Checklist#
- Draft fillable copy saved separately
- All fields visually correct on your screen
- Signature applied
- Flattened via print-to-PDF or burn-in edit
- Reopened on a second device—no empty boxes
- Filename shows Signed/Completed
FAQ#
Is flattening the same as password-protecting?#
No. Flattening removes interactivity. Password protection restricts opening or editing—and can still leave fields intact for anyone who can open the file.
Will flatten break digital certificate signatures?#
Advanced certificate workflows are different from a drawn signature. If your workplace uses certified signatures, follow IT’s Acrobat process instead of image flatten.
Can the recipient still copy text?#
Print-to-PDF often keeps text selectable. JPG round-trip does not. Prefer print-to-PDF when possible.
Fields look fine to me but empty to them—why?#
Their viewer is showing the empty field widget, not the appearance stream. Flattening fixes that class of bugs.
Should I flatten tax forms?#
Follow the IRS or software instructions for that year’s forms. Many e-file paths are separate from emailing a PDF. When you email a filled worksheet for review, a flattened copy avoids blank-field confusion—but keep the editable draft for corrections.
What if only one page of a five-page form breaks?#
Split that page, fix or flatten it, then merge the packet again so you do not rebuild pages that already look correct.
Next Step#
Save a fillable draft, finalize answers, then print-to-PDF (or burn in with Edit PDF). Email the flattened file so your completed form arrives looking completed—on every device.