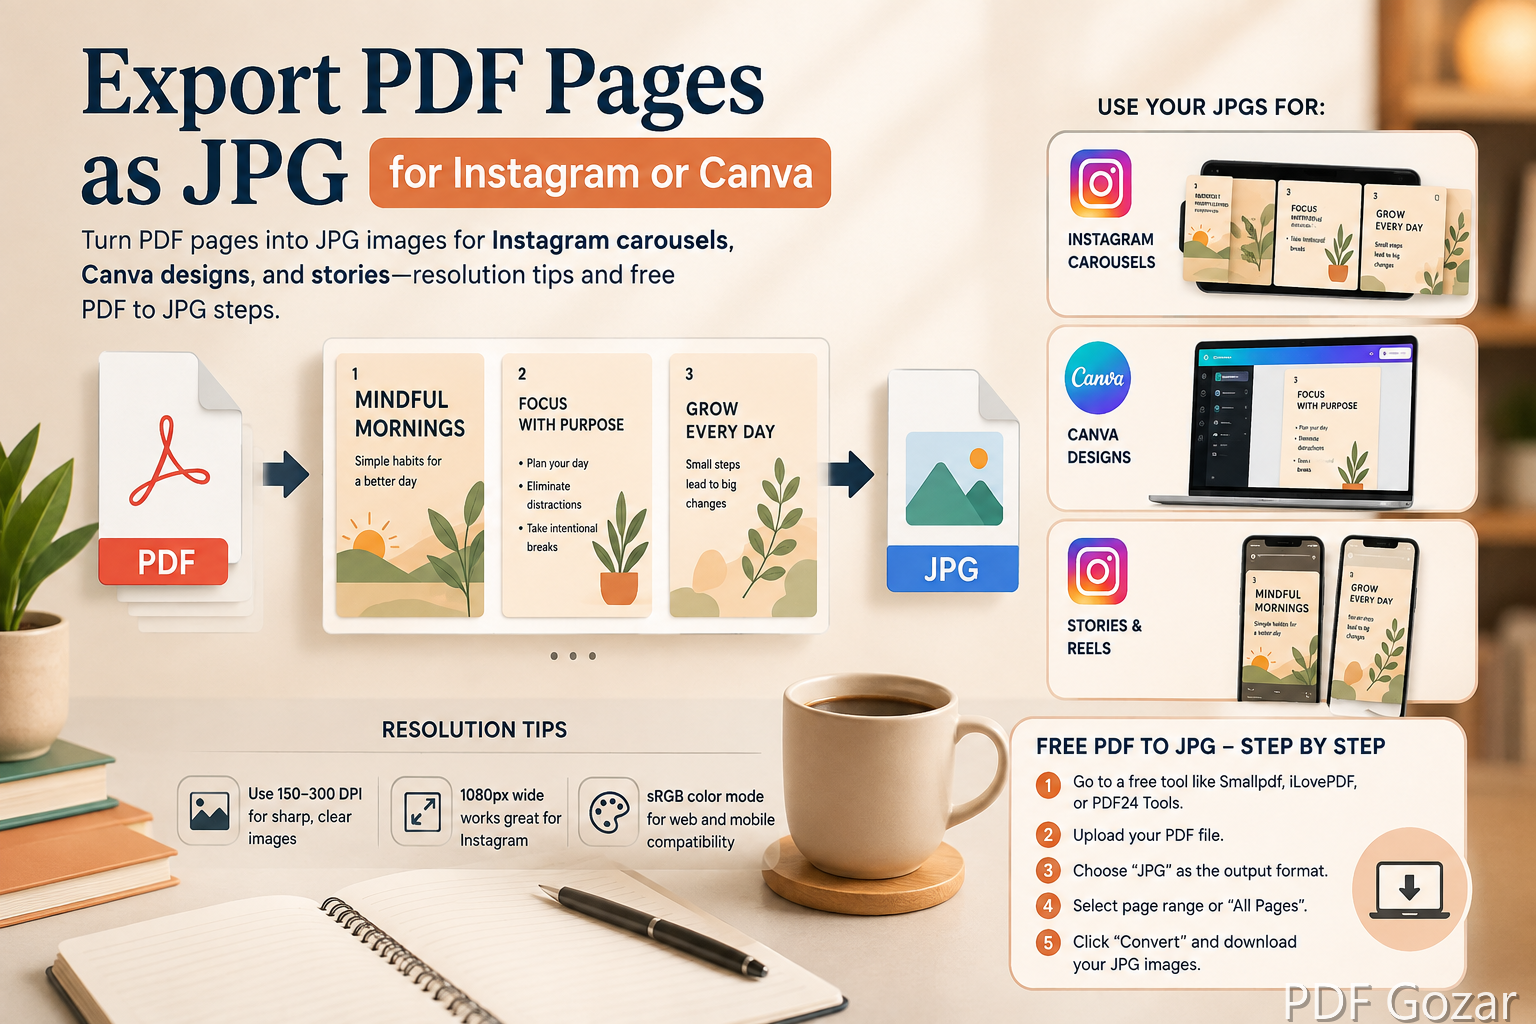
Export PDF Pages as JPG for Instagram or Canva#
Designers, coaches, and small businesses often finish a flyer or carousel in PDF, then need JPG for Instagram, Canva, email headers, or a website CMS that rejects PDF uploads. Screenshots look soft. Printing a page and photographing it looks worse.
This walkthrough shows how to export PDF pages to JPG at useful sizes, pick the right pages, fix common quality problems, and import them into Canva or Instagram without muddy text.
PDF vs JPG (Why Platforms Care)#
- PDF is great for print-ready vectors and multi-page docs.
- Instagram, many website builders, and some email tools prefer raster images (JPG/PNG).
- Canva accepts PDF uploads for some workflows, but page-as-JPG is still the flexible option for mixing with stock photos and templates.
Export once, reuse everywhere. Keep the PDF as your print and archive master; treat JPGs as social derivatives.
Export Pages With PDF to JPG#
- Open PDF to JPG.
- Upload your one-page or multi-page PDF.
- Choose the Instagram (~1080px) quality preset for feed carousels, or High quality for Canva masters.
- Optional: enter a page range (for example
2-4) instead of exporting every page. - Download the JPG set (usually one image per page).
- Preview on a phone: text should stay sharp at feed size.
If you only need pages 2–4 of a ten-page media kit, use the page-range field — or Split PDF first, then export. If pages are out of marketing order, reorder with Merge PDF before you convert so filenames stay sequential.
Resolution and Size for Social#
Rough targets (long edge):
| Use | Long edge (approx.) |
|---|---|
| Instagram feed / carousel | 1080px |
| Instagram story / Reel cover | 1080 × 1920 style crop in-app |
| Canva starter image | 1500–2500px then resize in Canva |
| Email header | 600–1200px wide |
If the export looks huge, resize in Photos, Preview, or Canva. If it looks soft, start from a higher-quality PDF (export from Canva/Illustrator at print quality, then convert).
Text tip: Avoid 8pt fonts in the original PDF if the page will become a phone feed image. Bump type before you export. Thin hairline rules and light gray text often disappear after Instagram’s compression.
Instagram Carousel Workflow#
- Design a multi-page PDF (one idea per page).
- Export all pages with PDF to JPG.
- On Instagram, create a carousel and upload JPGs in order.
- Add alt text for accessibility when the app allows.
Keep page 1 as the hook—most people never swipe to page 5. Put the CTA or offer on page 2 or 3, not only on the last slide.
Captions and consistency#
Draft the caption before you upload so you are not rewriting on your phone. Name files Brand-Carousel-01.jpg through 0N so a VA or teammate cannot scramble swipe order. If you reuse the same carousel seasonally, archive the PDF source—not only the JPGs—so you can update one price and re-export.
Canva Workflow#
- Export PDF pages to JPG.
- In Canva, upload the JPGs to your cloud folder.
- Place each JPG on a matching canvas size (e.g., 1080×1080).
- Optionally cover the JPG with Canva text if you need last-minute copy edits—or edit the source PDF in Free PDF Editor and re-export for cleaner type.
For brand kits, keep a folder of approved JPGs separate from drafts. When you need transparency for logos or stickers over a colored background, use PDF to PNG instead of JPG.
When PNG Is Better Than JPG#
Use PDF to PNG when:
- You need transparency (logos, stickers)
- Flat graphics show JPG compression speckles
- You will place the image over a colored Canva background
JPG is fine for photos and dense posters. PNG is friendlier for sharp UI mockups and line icons. For a mixed media kit, export photo pages as JPG and logo pages as PNG.
Stories, Reels, and Horizontal Pages#
Horizontal flyer PDFs do not fill a 9:16 story by default. Export JPG, then letterbox or crop in Canva. Add branded bars top and bottom instead of stretching. Stretching makes logos look cheap and text hard to read.
For Reel covers, design the PDF with safe margins so faces and headlines sit in the center third—UI chrome will cover the edges.
Common Quality Problems#
Blurry text — Source PDF was already a low-res scan. Rebuild from Canva/Word at higher quality, or accept that scanned flyers never look crisp on IG.
Washed colors — Export settings or social compression. Slightly boost contrast in the design file before converting.
Wrong page order — Rename page-01.jpg style before upload, or merge only the pages you need with Merge PDF then export.
Giant files — Instagram compresses anyway; resize before upload if your phone struggles. If an email attachment of many JPGs is too large, see How to Shrink a PDF Under 25MB for Gmail when you are sending the PDF master instead.
Moiré or banding — Fine patterns and gradients in the PDF can shimmer after rasterization. Simplify backgrounds in the design file and re-export.
Content Ideas That Convert Well#
- Tip carousels from a PDF lead magnet
- One quote per page from a longer report
- Before/after service pages
- Menu specials without redesigning in a separate app
- Event flyer pages turned into story frames
- Price sheet pages for Stories highlights (update monthly from the same PDF template)
Always follow platform rules and your own brand licensing for fonts and photos inside the PDF. Do not export and post client confidential pages from a proposal PDF without permission.
Batch Workflow for Agencies#
When you manage multiple brands:
- Keep each client’s master PDF in a dated folder.
- Split only the pages approved for social.
- Export JPG/PNG.
- Deliver a zip of images plus a one-line naming guide.
If a client sends phone photos of a printed flyer instead of a PDF, convert with JPG to PDF only to archive—then rebuild the design for sharp social exports. A photo of a print will never out-resolve a vector PDF.
One change, re-export#
When a price or date changes, edit the PDF source (or Edit PDF for a one-line fix), export fresh JPGs, and replace the old images in Canva or your drive. Do not patch a low-res JPG with a text box if you still have the PDF—you will fight softness twice.
Checklist#
- Correct pages split out if the PDF is long
- Exported with PDF to JPG (or PNG when needed)
- Previewed on a phone screen
- Files named in swipe order
- Alt text / caption drafted
- Original PDF archived for print
FAQ#
Can I post a PDF directly on Instagram?#
Not as a native PDF document in the main feed. Export images (or use link-in-bio tools that host the PDF).
Will colors match print?#
Screen and print gamuts differ. For brand-critical color, proof on the device your audience uses most.
Multi-page PDF became many JPGs—how do I zip them?#
Use your computer’s compress folder feature if you must hand files to a VA. For social, upload images individually in order.
What about Stories from a horizontal PDF page?#
Export JPG, then letterbox or crop in Canva to 9:16. Do not stretch; add branded bars instead.
Should I export every page of a 20-page ebook?#
Usually no. Split the three pages that work as a carousel hook. Save the full PDF for your lead magnet download.
JPG or PNG for a text-heavy tip slide?#
Try PNG if JPG shows speckles around letters. If file size becomes awkward for mobile upload, JPG at high quality is often enough after you bump font size in the source.
Next Step#
Split out the pages you need, export with PDF to JPG, and drop them into Instagram or Canva. One clean export beats a stack of blurry screenshots when you are posting on a deadline.