How to Scan Documents to PDF (Phone, Windows, Mac & Scanner)
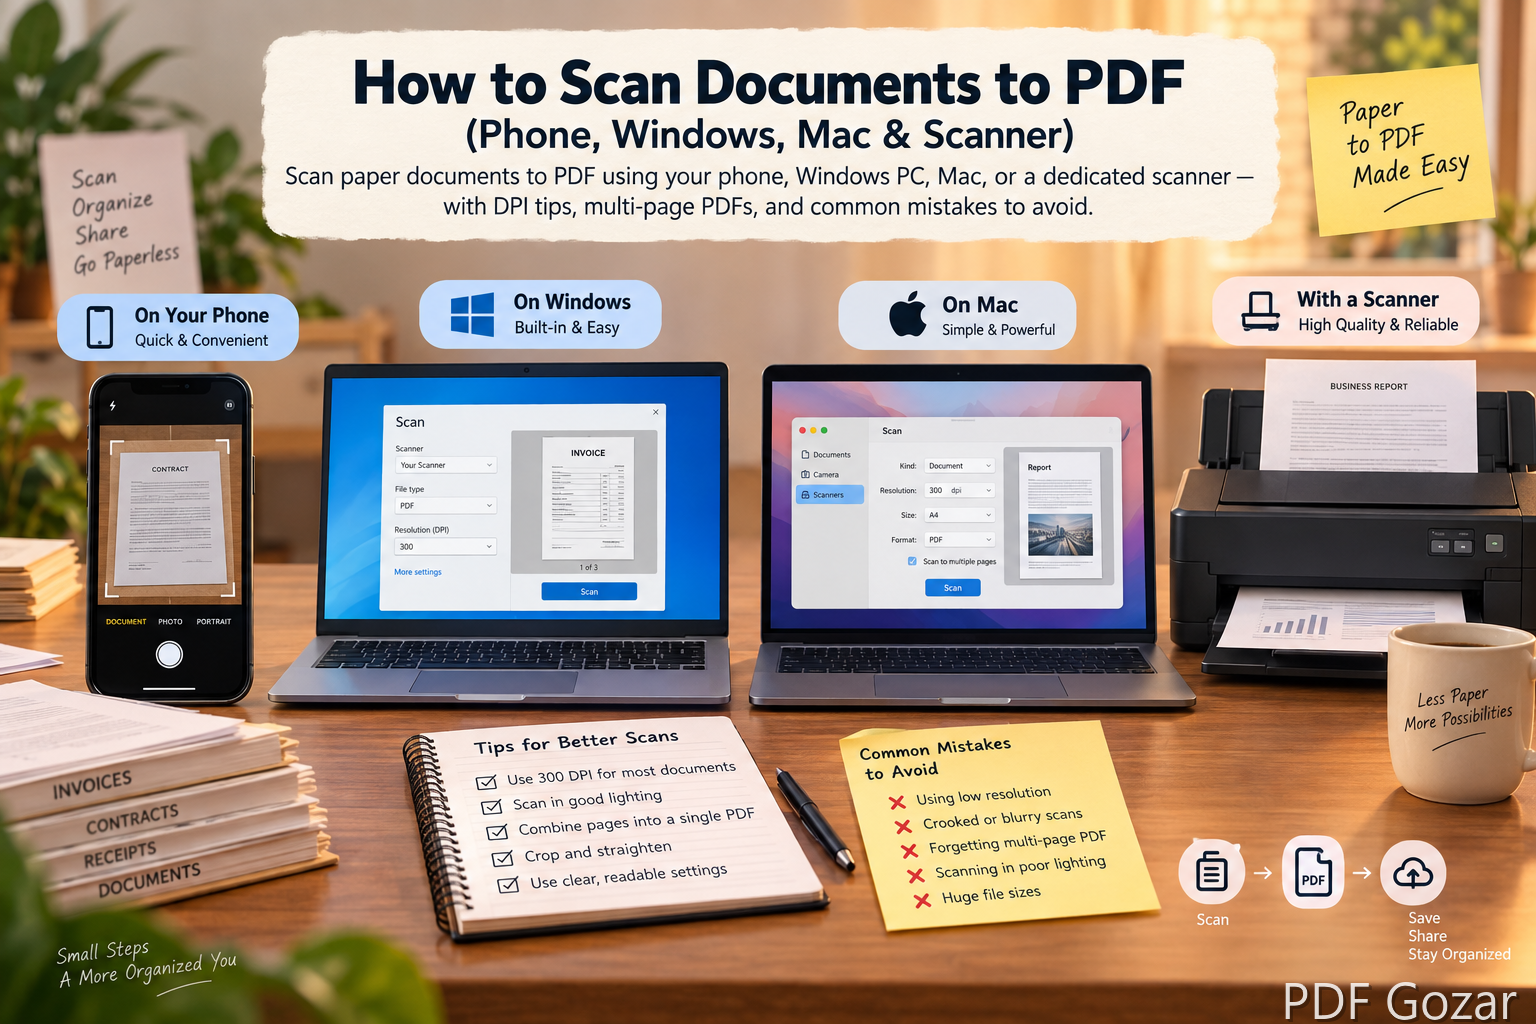
Paper forms, ID copies, invoices, and notes are easier to share when they become a clean PDF. You do not always need an office scanner. A phone camera, a laptop, or a multifunction printer can all create a multi-page PDF in a few minutes.
This guide shows how to scan documents to PDF on iPhone, Android, Windows, and Mac, plus settings that keep files sharp and small enough to email.
What “scan to PDF” actually means#
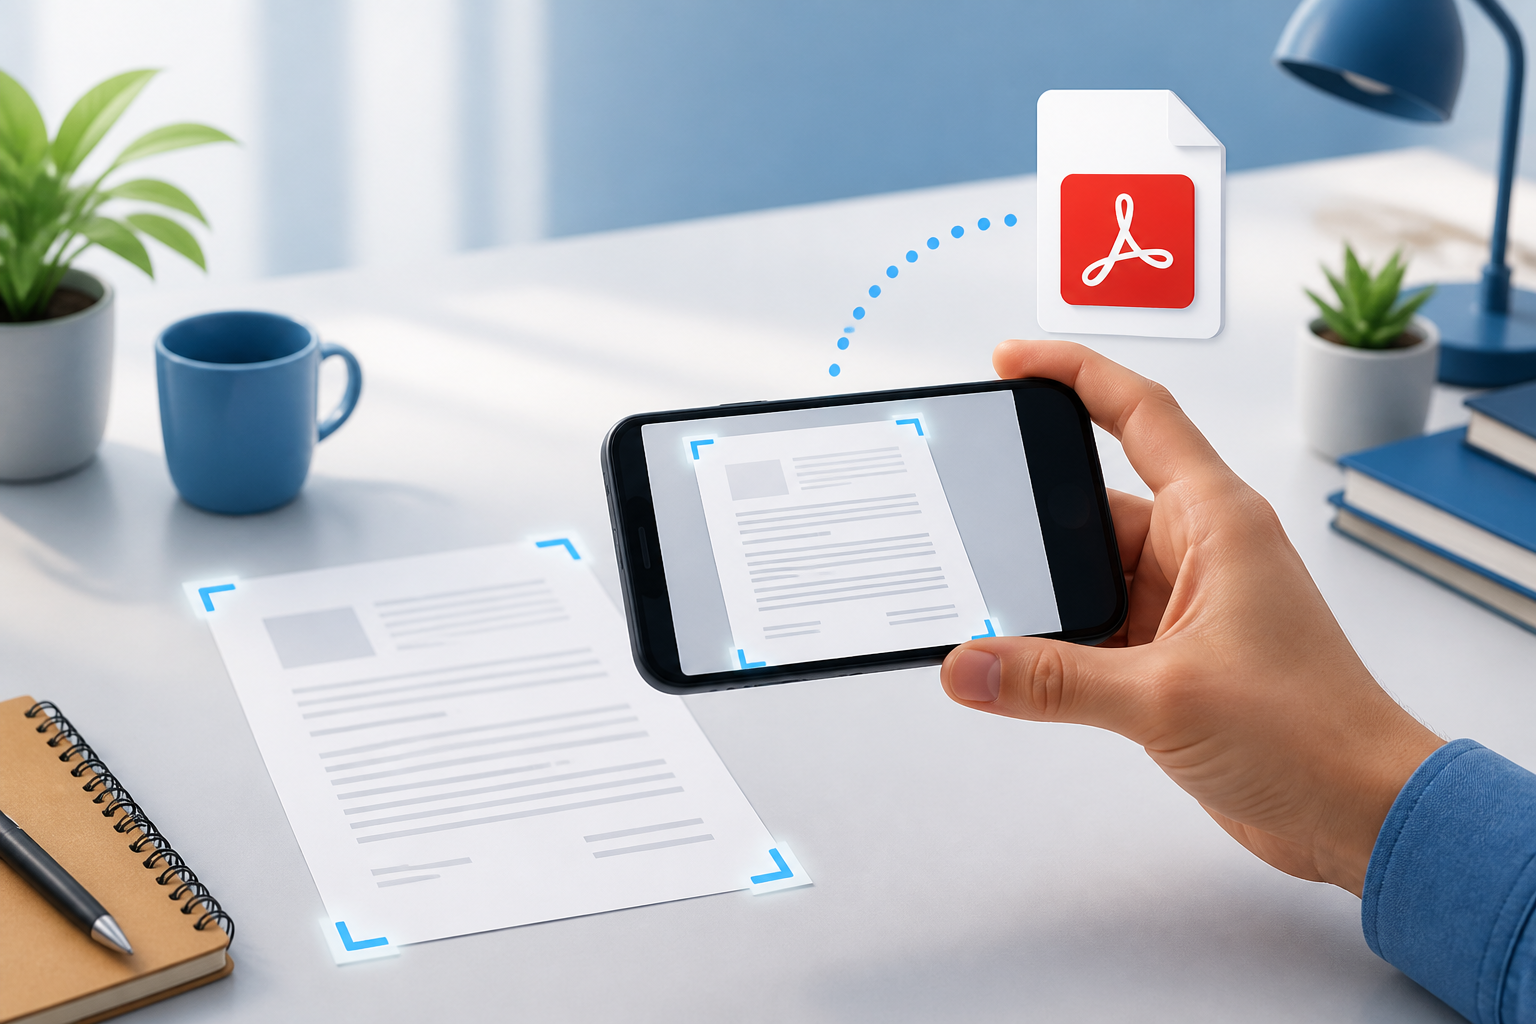
A good document scan is not a random photo. Scanning apps:
- Detect the page edges
- Crop and straighten the paper
- Boost contrast so text looks readable
- Save one or more pages into a single PDF file
That PDF can then be emailed, uploaded to a form, or archived. If you later need editable text, you can run OCR (optical character recognition) on the PDF.
Quick chooser: which method should you use?#
| Situation | Best method |
|---|---|
| One or two pages, need it now | Phone scan app |
| Many pages every week | ADF scanner / printer scan |
| Highest quality certificates | Flatbed scanner at 300 DPI |
| Already at a Windows PC with USB scanner | Windows Scan / printer software |
| Mac + iPhone nearby | Continuity Camera in Preview / Notes |
| Need searchable text later | Scan to PDF, then OCR |
Method 1: Scan to PDF with your phone (easiest)#
Phone scanning is enough for most IDs, receipts, homework, and signed forms.
iPhone / iPad (Notes app — no extra install)#
- Open Notes → create a note or open an existing one.
- Tap the camera icon → Scan Documents.
- Point at the page. Keep the phone steady and fill the frame.
- Tap the shutter (or let auto-capture take the page).
- Drag corners if the crop is wrong → Keep Scan.
- Add more pages the same way.
- Tap Save.
- Open the scan in the note → share button → Save to Files or Send as PDF.
You can also use Files, Google Drive, Adobe Scan, or Microsoft Lens if you prefer those apps.
Android (Google Drive or a scanner app)#
Google Drive method:
- Open the Google Drive app.
- Tap + → Scan.
- Capture the page → adjust crop/filter.
- Tap + to add more pages.
- Tap Done / Save and choose the folder.
- Drive saves it as a PDF you can download or share.
Other solid Android options: Adobe Scan, Microsoft Lens, or your phone maker’s document scanner (Samsung, Xiaomi, etc.).
Phone scanning tips that improve quality#
- Use bright, even light. Avoid mixed yellow lamp + window glare.
- Place the paper on a dark, flat contrast background.
- Hold the phone directly above the page, not at a steep angle.
- Turn off flash if it creates a white hotspot.
- For IDs, scan front and back as two pages in one PDF.
- Name the file clearly:
Passport_Vikram_2026-08.pdf.
Method 2: Scan to PDF on Windows#
Using a USB / Wi-Fi scanner or all-in-one printer#
- Connect the scanner and install its driver if Windows has not already.
- Place the page face-down on the glass (or face-up in the ADF, depending on your machine).
- Open Windows Scan from the Start menu (or your printer’s app: HP Smart, Epson, Canon, Brother).
- Choose scanner → File type: PDF.
- Set color mode:
- Black & white / grayscale for text forms
- Color for photos, stamps, letterheads
- Set resolution to 300 DPI for documents (see settings section below).
- Click Scan. For multi-page PDFs, use “add page” / ADF continuous scan if available.
- Save to Documents or Desktop.
If you only have a phone but need the PDF on the PC#
Email the PDF to yourself, use OneDrive/Google Drive sync, or AirDrop/Nearby Share equivalents. Avoid re-photographing a phone screen with a webcam — quality drops badly.
Method 3: Scan to PDF on Mac#
Option A: Preview + Continuity Camera (iPhone as scanner)#
On a recent macOS with a signed-in iPhone nearby:
- Open Preview.
- File → Import from iPhone / iPad → Scan Documents (wording can vary by macOS version).
- Scan pages on the iPhone.
- The scan appears on the Mac.
- File → Export as PDF if needed.
Option B: Image Capture#
- Connect your scanner.
- Open Image Capture.
- Select the device.
- Choose destination and format. If only image formats appear, scan as PNG/JPEG, then open in Preview and Export as PDF, or combine pages into one PDF.
- Many printer apps on Mac also offer direct “Scan to PDF.”
Option C: Notes on Mac with iPhone camera#
Notes can also pull camera scans from a nearby iPhone, then you export/share as PDF.
Method 4: Dedicated scanner or multifunction printer#
Use hardware when you scan weekly packets, contracts, or 20+ page sets.
Flatbed scanner#
Best for books, creased papers, and delicate certificates. Place one page at a time on the glass. Slower, but precise.
ADF (Automatic Document Feeder)#
Best for multi-page text documents. Stack pages neatly, remove staples/clips, and choose Scan to PDF in the printer panel or PC app.
Printer panel shortcut#
Many office MFPs let you:
- Tap Scan.
- Choose Email, USB, or Network folder.
- Select PDF.
- Press Start.
Ask your office admin for the scan profile that already uses 300 DPI and PDF/A if required for compliance.
Best scan settings (DPI, color, file size)#
| Setting | Recommendation | Why |
|---|---|---|
| Resolution | 300 DPI for text docs | Sharp enough to read and print |
| ID / small print | 300–400 DPI | Tiny text stays clear |
| Archive photos | 300–600 DPI color | More detail, larger files |
| Color mode | Grayscale for most forms | Smaller PDF, still readable |
| File type | Multi-page + easy sharing | |
| Compression | Medium | Balance quality vs email size |
200 DPI can work for rough notes, but signatures and small fonts often look soft. 600 DPI on every page makes huge files for little gain on plain text.
One page or many pages?#
- One PDF with many pages is better for applications and email threads.
- Split PDFs only when portals demand separate files (photo, ID, certificate).
Make a scanned PDF searchable (OCR)#
A basic scan is a picture of text. OCR turns it into selectable/searchable text.
Options:
- Adobe Acrobat OCR
- Microsoft OneNote / Word (insert or open and let it detect text)
- Google Drive (right-click PDF → Open with Google Docs for a text version)
- Built-in OCR in Adobe Scan / Microsoft Lens before export
Use OCR when you need to search a contract later or copy a paragraph. Keep the original scan if a portal wants an exact visual copy of a signed page.
Common mistakes to avoid#
- Scanning in dim light — muddy text, heavy noise.
- Crooked pages left uncropped — looks unprofessional and wastes space.
- Saving as many JPGs instead of one PDF — harder to upload to forms.
- Leaving fingers or shadows in the frame — recapture once; do not “fix” bad pages.
- Password-protecting before you check quality — review pages first.
- Scanning glossy IDs under bright light — tilt slightly or change light to kill glare.
- Ultra-high DPI for every receipt — inbox rejects oversized attachments.
Quality checklist before you send#
- Open the PDF and zoom to 100% — can you read every line?
- Flip through all pages in order.
- Confirm no cut-off edges or missing page backs.
- Check file size (aim under typical email limits, often 10–25 MB depending on provider).
- Use a clear file name and date.
- If it is an ID, verify both sides are included.
Privacy and safety notes#
Scans often include ID numbers, addresses, and signatures.
- Do not post full ID PDFs on public links.
- Prefer encrypted email or trusted portals for sensitive files.
- Delete test scans from shared phone galleries.
- On office scanners, clear the device preview/memory if the machine stores recent jobs.
FAQ#
Can I scan documents to PDF without a scanner?#
Yes. Use iPhone Notes, Google Drive Scan, Adobe Scan, or Microsoft Lens. For many everyday tasks, the phone is enough.
What DPI should I use for school or job applications?#
300 DPI grayscale or color is the usual sweet spot. Use color if the form has stamps, seals, or colored letterheads.
How do I combine multiple scanned pages into one PDF?#
Phone scan apps do this automatically when you keep adding pages before saving. On a computer, scan to PDF multi-page mode, or combine images in Preview (Mac) / your printer software / a PDF merge tool.
Why is my PDF blurry?#
Usually motion blur, low light, low DPI, or heavy compression. Rescan with steadier hands, better light, and 300 DPI.
How do I scan a book without the curve in the middle?#
Scan one page at a time on a flatbed, press the binding gently flat, or use a phone app book mode if available. Do not smash fragile spines.
Is a photo from the regular Camera app okay?#
It can work in a pinch, but a document scanner app usually produces a cleaner, smaller, straighter PDF.
Bottom line#
To scan documents to PDF, start with your phone for speed: Notes on iPhone or Google Drive Scan on Android. Use a Windows/Mac scanner app or an ADF printer when you handle stacks of pages. Set PDF + 300 DPI, review every page, then share.
If you want editable text later, add OCR after the scan. If you need a visual exact copy for a portal, keep the clean multi-page PDF and name it clearly before you upload.